

Home
Products
Download
Tutorials
- Blender Section
Introduction
Light the headlight.
Animation.
Other lights.
Web Ring/Links
Contact
  Illuminate a headlight
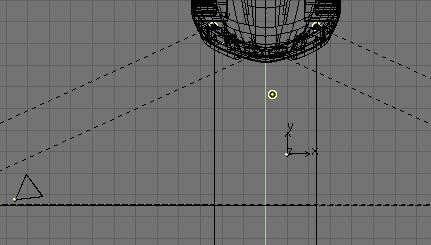
when it creates light needs two lights. One,
inside,
to simulate the light generated by the headlight. The second, outside,
simulates the effect of the first lamp on the headlight. Illuminate a headlight
when it creates light needs two lights. One,
inside,
to simulate the light generated by the headlight. The second, outside,
simulates the effect of the first lamp on the headlight. The headlight's material must be change to increase its light refraction, by giving a high or maximal value on the following parameters Refraction (Ref), Specularity (Spec) et hardness (Hard). |
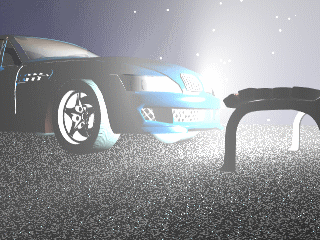
 Like this, as shows on the
rendering the headlights generate light and
seem on. Unfortunately, the car being illuminate too, that is not
realistic. Like this, as shows on the
rendering the headlights generate light and
seem on. Unfortunately, the car being illuminate too, that is not
realistic. |
  Blender allows a lamp to
illuminate only the objects locate in the same
layers. Do to so, the headlights must be separate from the body car to
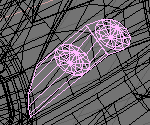
become a separate mesh. In the edition mode, select headlight's
vertices
and separate them from the body car by pressing the 'p' key. Since
Blender
2.28c splitting the mesh must be confirm by the option "selected". Two
layers will be use. The layer 4 will contain the headlights and the
reflection
light. The layer 0 will contain the car and the spots to simulate the
headlight's
beam. Blender allows a lamp to
illuminate only the objects locate in the same
layers. Do to so, the headlights must be separate from the body car to
become a separate mesh. In the edition mode, select headlight's
vertices
and separate them from the body car by pressing the 'p' key. Since
Blender
2.28c splitting the mesh must be confirm by the option "selected". Two
layers will be use. The layer 4 will contain the headlights and the
reflection
light. The layer 0 will contain the car and the spots to simulate the
headlight's
beam. After leave the edition mode, the layer of the car, headlights and lights are change by selecting them and press the 'm' key follow by key number of the layer. The light's power may be change with the 'Energy' setting to obtain the expect effect. Especially, do not forget to select the 'layer' button for the reflection light, to limit the light illumination to the headlights. |
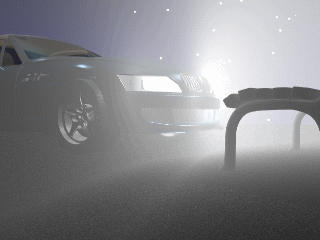
 As the image rendered with camera shows only
the selected layer, both
layers,
the 0 and 4, must be select before make a rendering. As the image rendered with camera shows only
the selected layer, both
layers,
the 0 and 4, must be select before make a rendering. Now the image shows headlights on generating light without illuminate the car. |
|